
Drones have become fashionable in both photography and videography. They have become standard production equipment for professional photographers and filmmakers. Still, many drone users invest in these expensive gadgets just for recreational purposes. This article is just for you, if you’re hoping to adopt this cool new hobby, or turn drone flying into a career. Here, we’ll talk about the steps to fly a drone.
Charge the battery |
It would help if you charged the drone before you fly for a safe and undisturbed flight. The most likely time for the drone’s battery to catch fire is during charging, so you should concentrate the bulk of your safety efforts there. According to the CPSC, most of the drone-battery incidents documented at hospital emergency rooms occurred while the drone was charging. Be particularly careful when charging batteries from a brand you’re not familiar with using. Innovative drone makers have realized that as drones become more commonplace and more sophisticated, smart batteries and advanced connectors will allow less-sophisticated, everyday consumers to safely and effectively charge their drone batteries.
Smart batteries need to be used in drones because they enable everyday consumers to charge their drone batteries with simple charging units reliably. Smart batteries have integrated electronics that self-balance the loading of the lithium-polymer cells in the array. To load a drone battery, you should connect our V88 laptop battery to a car charger designed individually for your drone’s battery.
You can often find third-party car chargers that are much less expensive than those sold by the drone manufacturer. In the DJI case, the DJI branded car charger may not work because of their voltage restrictions. If a car charger is not available for your drone, you must use a LiP battery balancing charger or hack your drone’s charging cable to connect to one of our voltaic cables.
Secure an open area for flying practice |
You must already have a place in mind if you already have a drone or are thinking of purchasing your own. You can practice in an open and safe outdoor area, free from obstructions. In this way, you don’t end up crashing the drone into a tree, wall, or possibly even other people. Make sure that the country permits the usage of drones so as not to break any laws. It is also necessary for the pilot who is learning to fly a drone to secure an open area for practice to fly a drone. He should also take care of the place and must read the rules of flying the drone in that area. The open space also helps and makes it easy for the pilot to learn how to fly a drone.
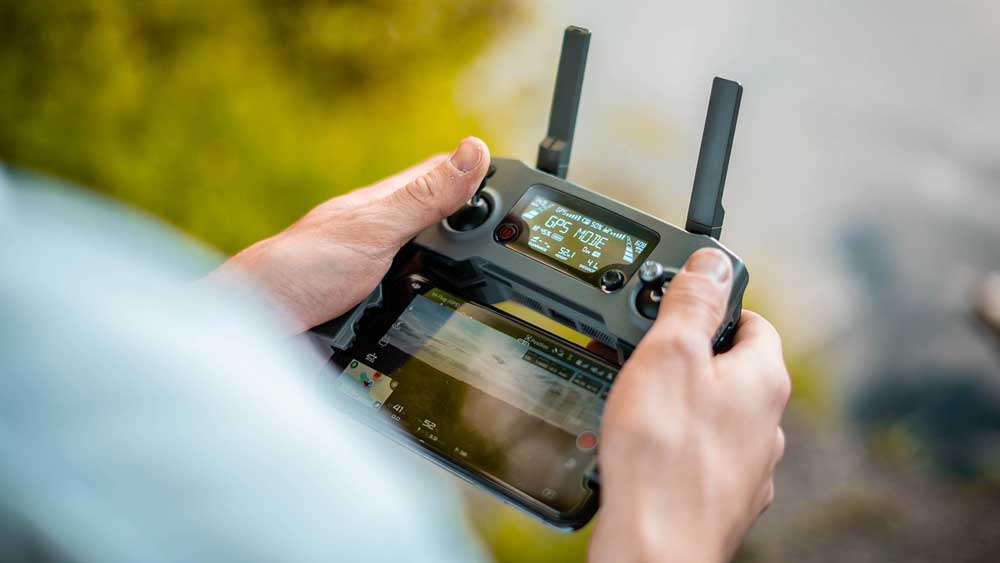
Position the Drone |
First and foremost, find a suitable takeoff spot. It would help if you positioned the drone according to the instruction. Physically ideally in front of you and on a flat surface, with you and the drone facing the same route. It would help if you did this before every flight unless you’ve extended enough confidence and experience in flying your drone. Drones use rotors for propulsion and control.
You can think of a propeller as a fan because they work pretty much the same. Spinning knife-edges push air down. As all forces come in pairs, which means that as the blade pushes down on the air and at the same time, the air pushes up on the rotor, and this is the basic idea behind lift, which comes down to controlling the upward and downward force. The faster the airfoils spin, the higher the elevator, and vice-versa.
Practice takeoff and landing your drone |
After following the previous steps to fly a drone, you may slowly push the throttle upwards and witness the drone lift off. Keep it steady without moving forward or to the sides with the roll and pitch directives’ help. Once the drone is launched a few feet above the ground, try to land it as smoothly as possible. Keep it steady and slowly push the regulator down this time until it reaches the same spot on the ground. Place your X‑Star in an open area with the battery opposite you. You must avoid taking off from areas with metal nearby, as the metal may cause interfering. Now you should press and hold the Start Motors button for two seconds. For auto take off, press and hold the Takeoff and Landing button on your remote controller for about two seconds.
The drone will fly and hover at an elevation of ten feet, waiting for your command. To take off manually, push the left grasp stick up. At the desired altitude, release the command stick to its center position, and the airplane will hover there. To land automatically, press and hold the Takeoff and Landing button for around two seconds. The X‑Star will slope and fall, but you will continue to control the right command stick. Be careful not to touch the bat unless you want to make directional alterations during the landing sequence. To land manually, pull the left command stick down. The speed of descent will compare to your command stick movement, so pull the rod down slowly to descend slowly. Once the drone is on the milled, pull the left stick down and hold for five seconds to turn the propeller motors off.
Get Used to the Controls |
We’ve explained the primary controls on your whisperer, but must practice like playing with a video game regulator; you’ll need to practice until you can “forget” about your supervisor and focus on that mental image of you being the pilot. This way, you can execute different operations as quickly as you can move your limbs, and focus on attaining well-composed high-resolution aerial imagery. You should also get the everyday use of controls to fly a drone quickly without getting any problem.
Perform a Rundown of the Controls |
Now that you’ve learned all of the necessary controls and maneuvers, it’s time to combine all of your advanced knowledge and experience into one session and get to use the right stick to move the quadcopter truly. Here are a few sample controls and actions that you can try out once the drone is in the air-travel in parallel trails by moving the drone using the pitch control (right stick) the roll control (right stick).
Draw a square using the field and roll controls (right stick), fly forwards and backward in a similar path with the drone facing the direction of the flight by moving the drone forward with the pitch control (right stick). It would help if you stopped, rotating the drone 180 degrees until it is facing you, and moving the drone forward again until it spreads its original position. Using the pitch control stick, draw a square by moving the drone forward, stopping, revolving the drone to the left or right using the left control stick, and repeat all steps until the drone returns to its original position.
Take care of your drone. |
It will help if you take decent care of your drone. Be careful when taking off and landing, make sure you keep the drone away from dangerous hurdles and have enough battery before arrival. You must also remember to clean it after every use. Follow all instructions from the producer, especially when it comes to battery power management. After flying, wipe down your drone with a moist microfiber cloth. If you’re ready to pull to pieces your drone, the fabric will help to dislodge any dirt and grime. Drone motors need to be greased from time to time. So flip through the user manual or ask your manufacturer if this applies to your model. Do this once a month to clear build-up from the corners and fissures of your drone. When you get to the gears, be sure not to spray too close or too long – the air can freeze your drone’s mild mechanisms.

